How to make a rustic wood planter
How to make a rustic wood planter
My grandson really wanted to plant some flowers; therefore, we took him to the plant nursery and let him pick out the ones he wanted. He had really good taste. Problem being, we did not have enough planters for all the colorful bloomers. So he and Grumpy set out to make some planters. Grumpy and I wanted to also teach him how to make a rustic wood planter. We all trotted off to the garage and gathered some old pickets.
We picked up this holder to bring our plants home in, and decided it would be a good base to start with. It was perfect really, because it had holes in the bottom for the water to drain, and enough coverage to hold the potting soil.

Measure the end and cut two pickets the same measurement for each end. (You will need 4)
Next, cut two pieces for the bottom the same length as the holder.
Use a brad nailer and nail the two bottom pieces on each side to the end pieces. Nail from the ends. (You will need an air compressor with this brad nailer)
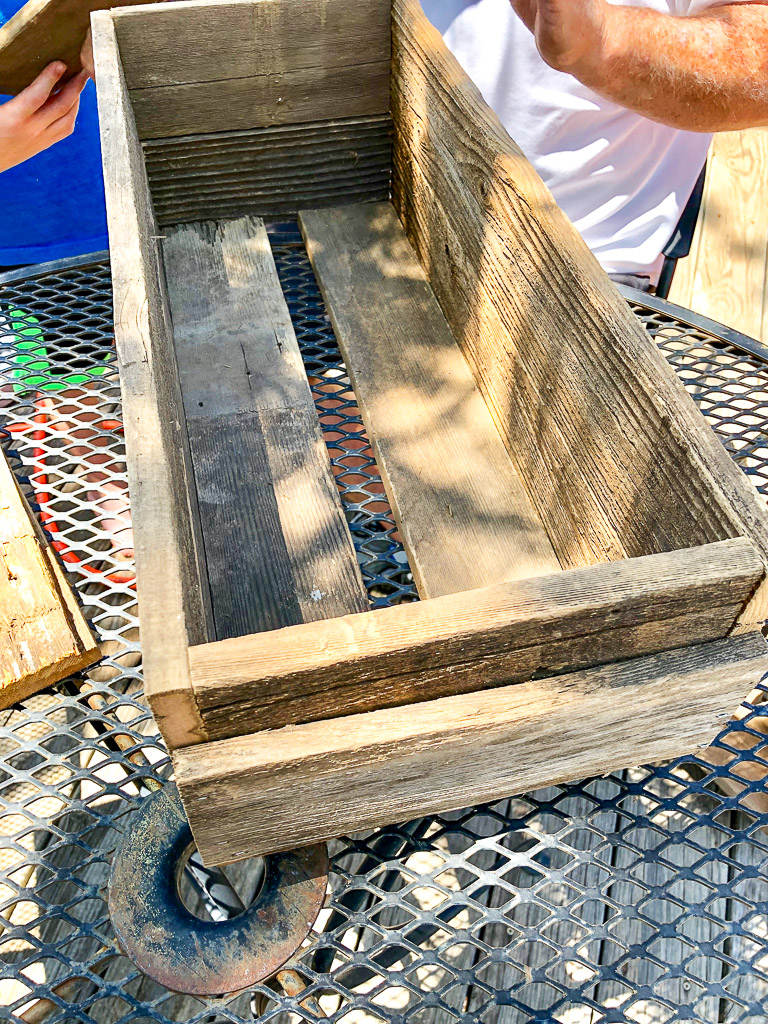
After that, measure the length of the sides and add the thickness of the wood at each end so that when you put them together, it covers the end pieces. You will need to make two layers for the depth. (So 4 total)

Use your brad nailer and nail the sides to the end pieces. Your sides will overlap the end pieces. And nail them to the bottom pieces.


The air that blew out from the brad nailer blew in his face. Check this expression. LOL

To hold the two layers together, cut two more end pieces the total width of the box and nail one into each end, centering between the layers, while lining up the top square and the bottom square. Time to nail it!!
This also creates handles for you to move it around.

He is soooo proud!


Lastly, it’s time to add some potting soil. Leave room for those new beautiful flowers. Add the flowers and more potting soil.


Time for some water and a little sunshine. Great job!!


Pin for later – Sharing is caring!!


